Smart Mirror DIY: Build Your Own AI-Powered Smart Mirror

Wall-mounted DIY Smart Mirror showing time, weather, and smart home notifications

Imagine having a mirror that not only reflects your image but also displays the time, weather, calendar, and even your daily news updates! Smart mirrors are becoming popular in high-tech homes, but buying one can be expensive. In this guide, we’ll show you how to create your own AI-powered Smart Mirror at home using a Raspberry Pi, a two-way mirror, and some basic coding skills.

What is a Smart Mirror?

Smart Mirror setup diagram with Raspberry Pi, two-way mirror, and display screen

 Smart Mirror setup diagram with Raspberry Pi, two-way mirror, and display screen

A smart mirror is an interactive mirror equipped with a digital display that can show real-time information such as:

  • Time & Date
  • Weather Forecast
  • Calendar Events
  • News Updates
  • AI Voice Assistant

By integrating artificial intelligence (AI) and voice recognition, your mirror can become a personal assistant—helping you start your day efficiently.

Materials You Will Need

Before we begin, gather these materials:

Hardware:

• Raspberry Pi (Model 3 or 4) – The brain of your smart mirror

• MicroSD Card (16GB or higher) – To install the operating system

• Two-Way Mirror (Acrylic or Glass) – Acts as a reflective display

• Computer Monitor or LCD Screen – The display behind the mirror

• HDMI Cable – Connects the Raspberry Pi to the monitor

• USB Power Adapter – To power the Raspberry Pi

• Wooden Frame (Optional) – For a polished, finished look

Software

• Raspberry Pi OS – The operating system for Raspberry Pi

• MagicMirror² – Open-source software for smart mirrors

• Python (For AI and Voice Commands)

Step 1: Setting Up Raspberry Pi

Raspberry Pi connected to a display screen via HDMI for Smart Mirror setup

 1. Download Raspberry Pi OS:

• Insert the MicroSD card into your computer.

• Download Raspberry Pi Imager from the official Raspberry Pi website.

• Install Raspberry Pi OS and set up SSH for remote access.

2. Connect Raspberry Pi to a Monitor:

• Use an HDMI cable to connect the Raspberry Pi to a monitor.

• Plug in the USB power adapter and boot up the Raspberry Pi.

Step 2: Install MagicMirror² Software

Wiring setup for a DIY Smart Mirror, showing Raspberry Pi and power connections

 MagicMirror² is the main software that will power your smart mirror.

1. Open the terminal on Raspberry Pi.

2. Enter the following command to install MagicMirror²:

				
					curl -sL https://raw.githubusercontent.com/MichMich/MagicMirror/master/installers/raspberry.sh | bash


3. Once installed, run:

				
					cd MagicMirror npm start


4. Your mirror interface should now display a default dashboard with time, weather, and news updates

Step 3: Customizing Your Smart Mirror

You can customize your smart mirror by adding different modules:

1. Adding a Weather Widget

• Open the config.js file in MagicMirror:

				
					nano config/config.js


• Add the following module for weather updates:

				
					{ module: "weather", position: "top_right", config: { location: "New York", locationID: "5128581", appid: "YOUR_OPENWEATHERMAP_API_KEY" } }


• Replace “YOUR_OPENWEATHERMAP_API_KEY” with your free API key from OpenWeatherMap.

2. Adding a Calendar

To integrate Google Calendar:

• Generate a public calendar link from Google Calendar.

• Add the module in config.js:

				
					{ module: "calendar", position: "top_left", config: { calendars: [ { url: "YOUR_GOOGLE_CALENDAR_URL", color: "#FF0000" } ] } }


Step 4: Building the Mirror Frame

Building a wooden frame for a DIY Smart Mirror project

1. Attach the LCD screen behind the two-way mirror.

2. Secure the frame around the mirror using wood or acrylic.

3. Place the Raspberry Pi behind the screen for a clean, hidden setup.

4. Test your mirror before permanently fixing the frame.

Step 5: Adding AI & Voice Commands (Optional)

To make your mirror voice-controlled, integrate AI assistants like Google Assistant or Alexa.

Installing Google Assistant on Raspberry Pi:

1. Install the Google Assistant SDK:

				
					pip install google-assistant-sdk
				
			
DIY Smart Mirror displaying time, weather, and calendar using MagicMirror²

2. Authenticate with Google Cloud to enable voice commands.

3. Create custom voice commands to check the weather, play music, or read news.

Final Touch: Auto-Start MagicMirror on Boot

 To make your mirror start automatically when powered on:

1. Edit the rc.local file:

				
					sudo nano /etc/rc.local


2. Add this line before exit 0:

				
					cd /home/pi/MagicMirror && npm start &


3. Save and exit, then restart your Raspberry Pi.

Conclusion

Wall-mounted DIY Smart Mirror showing time, weather, and smart home notifications

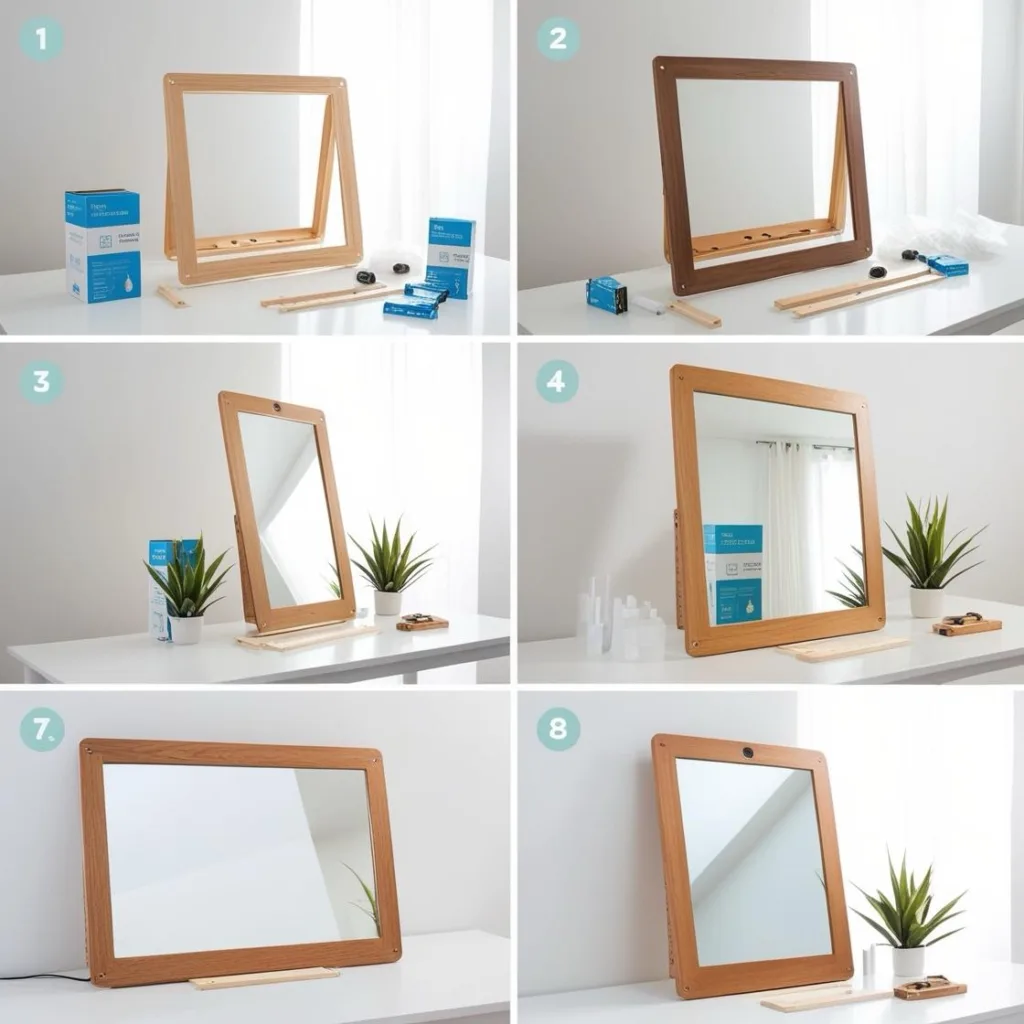
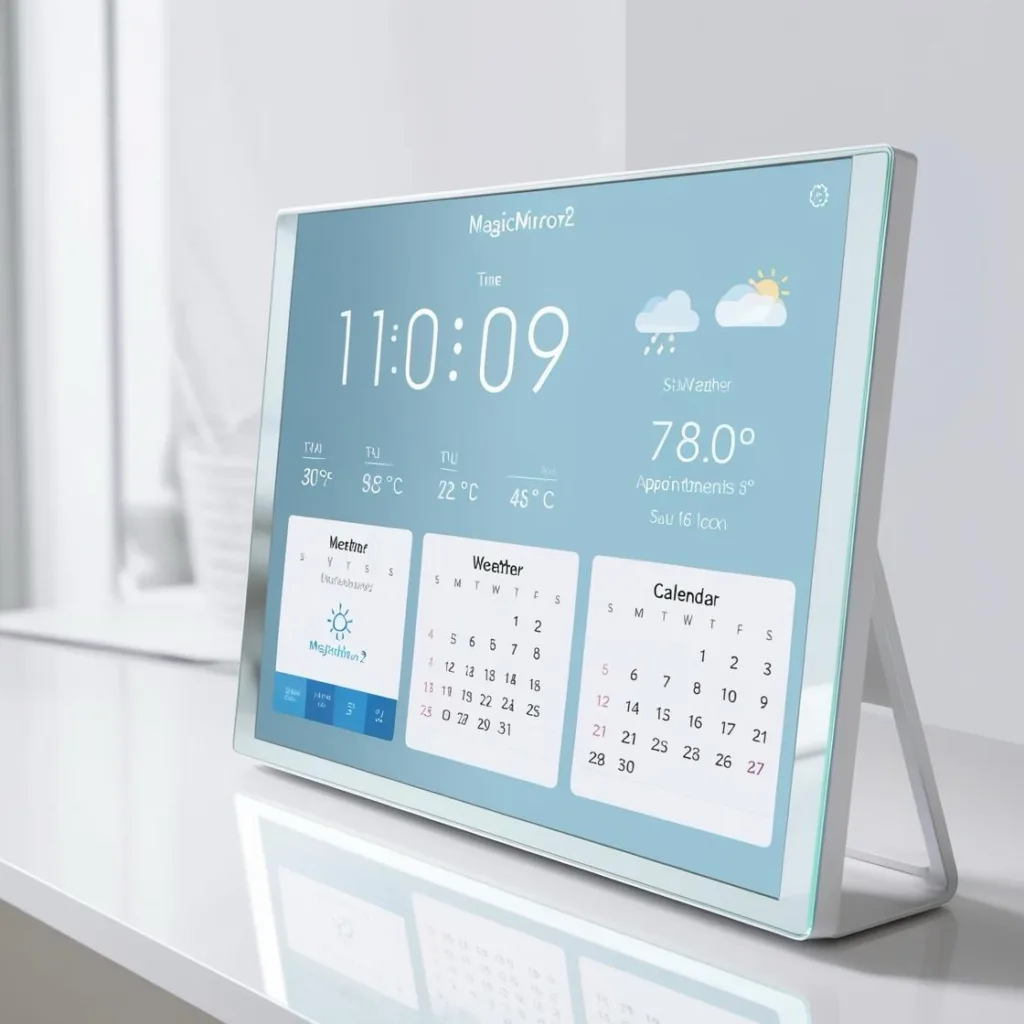
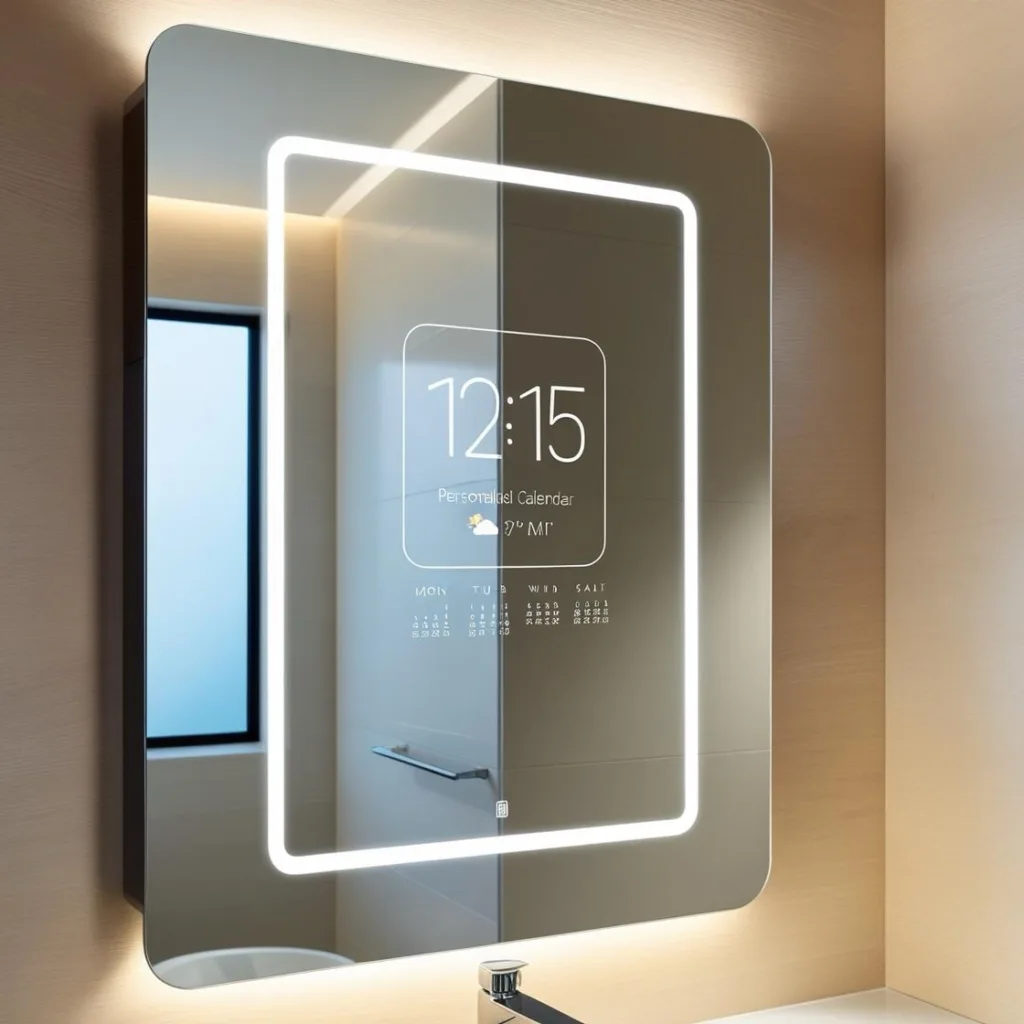
Congratulations! You’ve built your very own DIY Smart Mirror with a digital display, calendar, weather updates, and even AI voice control. This is an excellent weekend project for tech enthusiasts and can also be a great addition to your home.

🔹Further Improvements:

  •  Add motion sensors to turn on/off when someone approaches.
  • Use Face Recognition AI to personalize content.
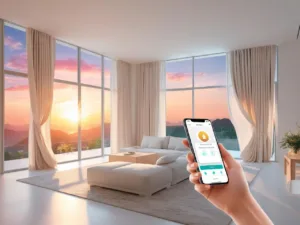
  •  Integrate Home Automation (control smart lights, thermostat, etc.).

Would you like more DIY tech projects like this? Let us know in the comments!

Leave a Reply

Your email address will not be published. Required fields are marked *